Sewing is not my first love of all the creative endeavors I have tried, but it is a handy skill to have every now and again. I like to be able to make my clothes or up-cycle vintage frocks but sewing takes a lot of time for me so I tend to collect a bunch of ideas and material and do a lot of sewing at one time. Due to the quarantine and extra time off, I decided to sew up some much-needed smock frocks. The ones I had were looking ratty and thread bare, not to mention having layers upon layers of paint.
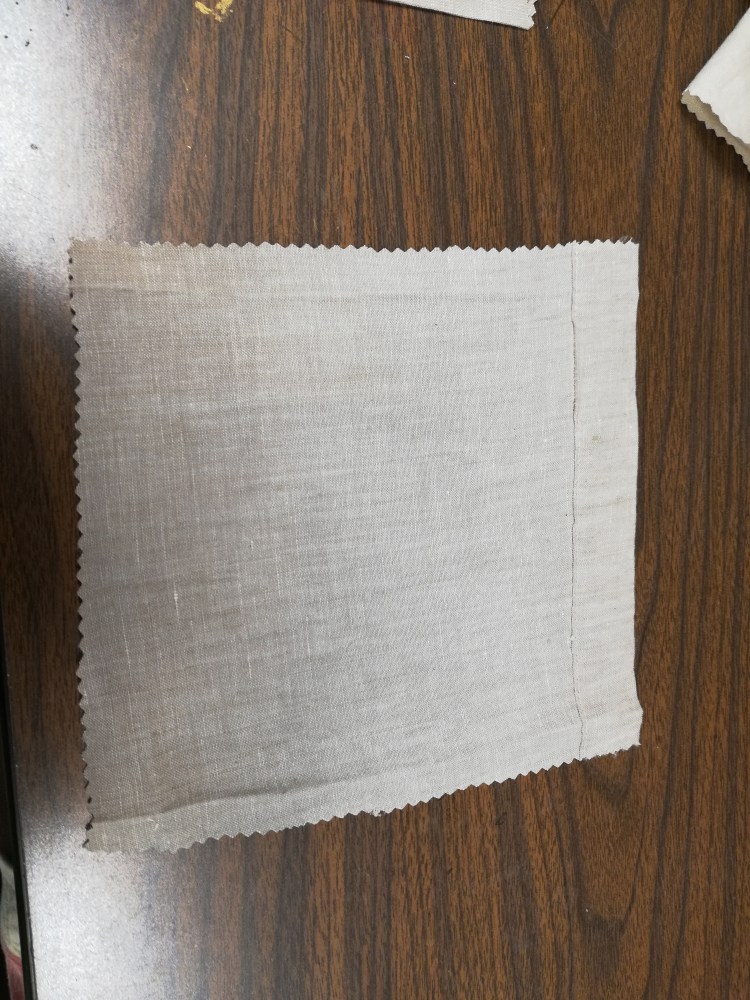
A smock is an artists’ everyday uniform that gets a lot of abuse, wear and tear. Like a cook needs an apron an artist or crafter needs a smock. I have been collecting linen fabric that I find on sale or at thrift shops, as well as large linen tablecloths. Any fabric will do but I just like the look and texture of the linen. You really don’t want to use fine expensive material as it is going to get destroyed paint all over it.
Years ago, when I first attempted to sew my own smock there wasn’t a pattern available, so I created one. It is not fancy, but gets the job done. Disclaimer, I am not a seamstress, but these work just fine for me. This is a basic design that I usually start with when creating a new smock.
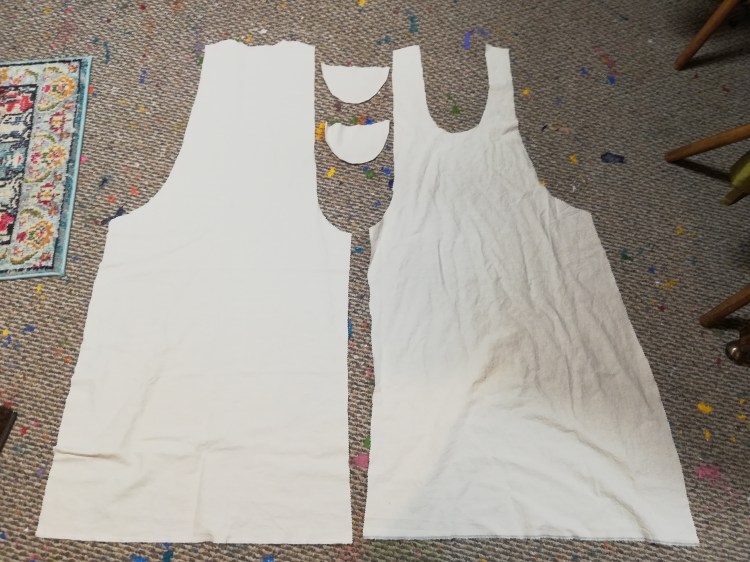
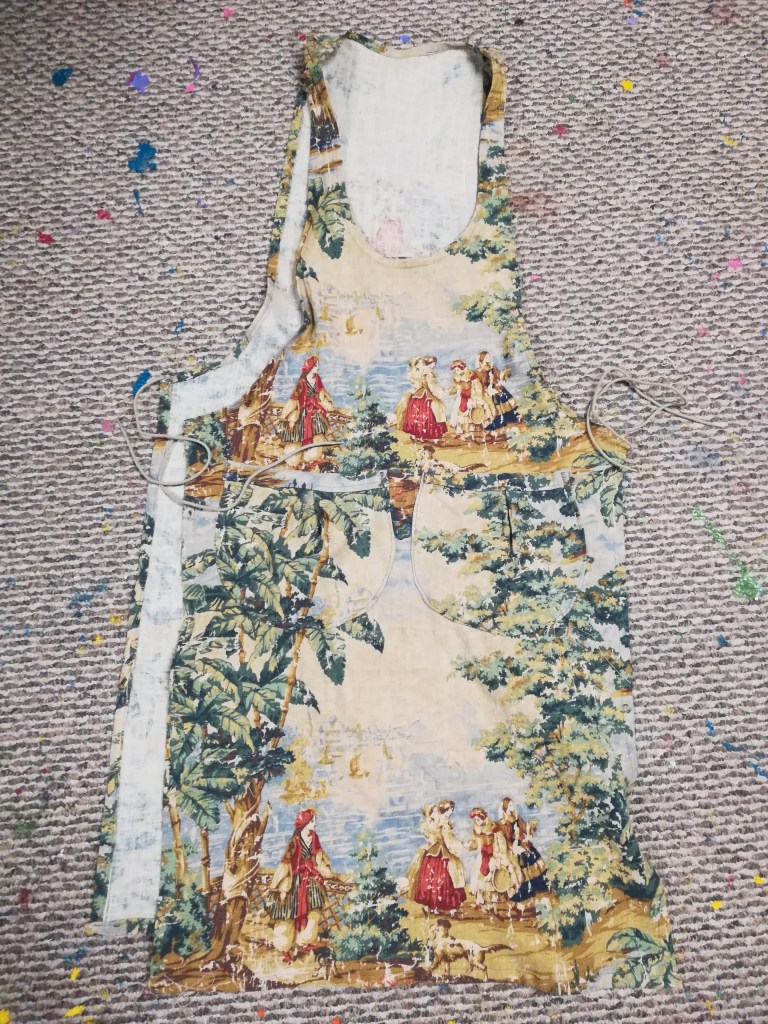
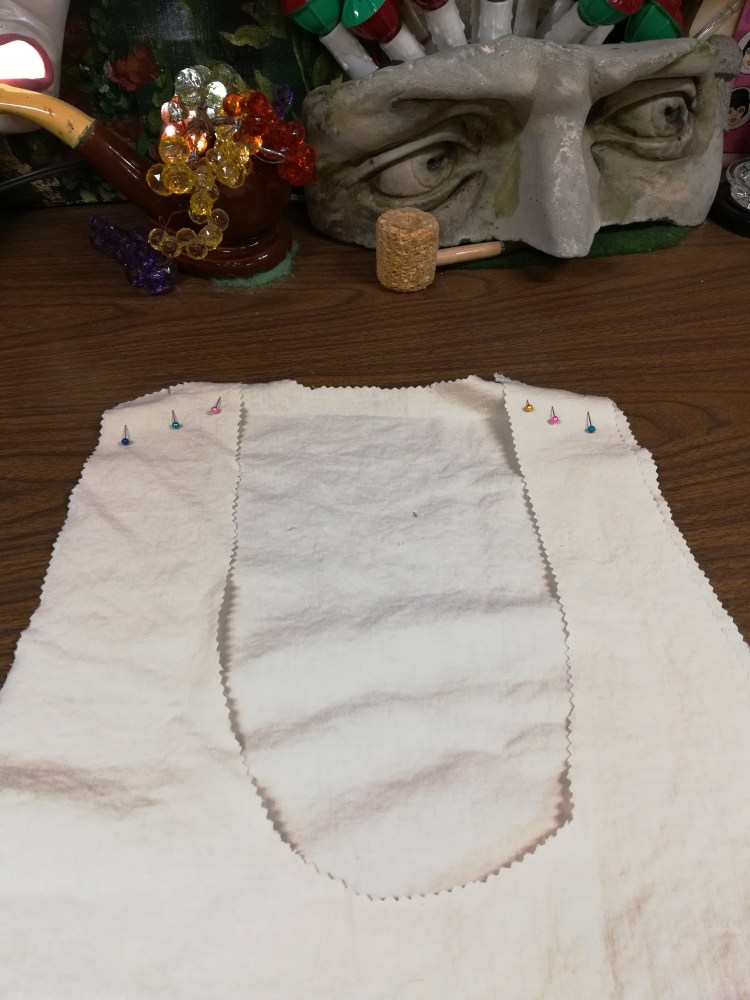
I would suggest drawing the design onto wrapping paper or old fabric first to create a good prototype that will fit your height and torso length. After creating the pattern, I place it on the fabric to make sure I have enough. Sometimes, if I don’t have quite enough fabric, I shorten the length of the pattern a bit to help it fit. I like my smock frocks to be almost ankle length but you can adjust to what ever length you wish. I cut out the front and back pieces with pinking shears. If I have enough matching material I cut out two patch pockets of any shape or size. I prefer at least a large enough pocket to easily fit my hand into. If I don’t have enough of the fabric, sometimes I make pockets out of another piece of material that matches.
dav 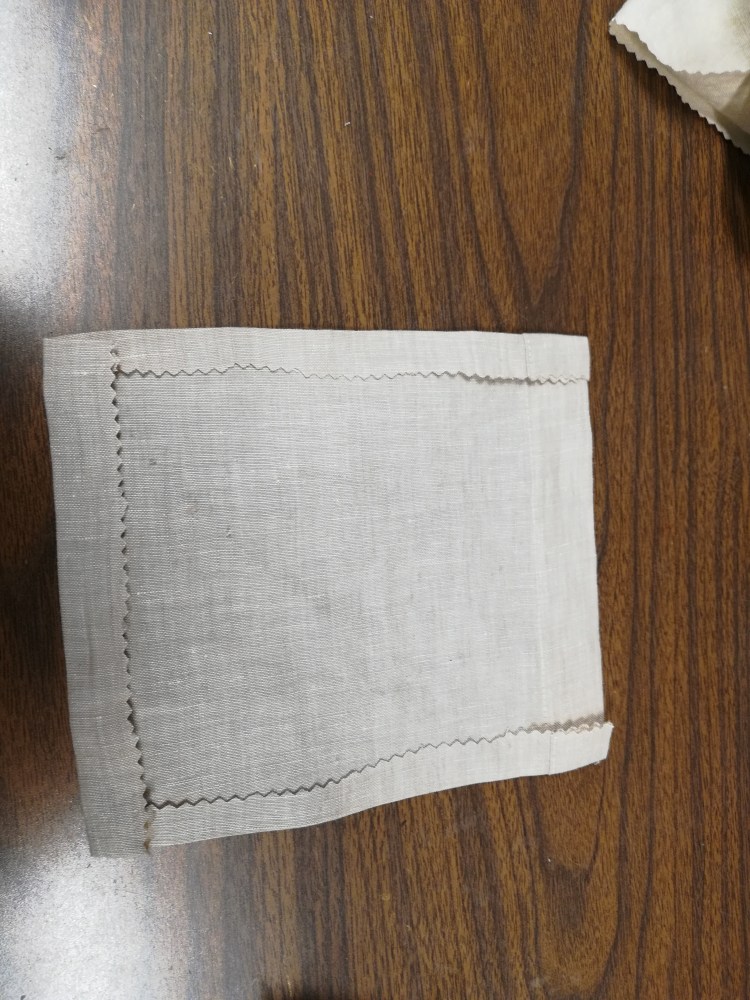
dav
Cut the pockets out any size and shape you want, then double fold the top down and sew. then fold and press the sides and bottom.
Pin the front and back pieces with right sides together at the top of the shoulder. Sew the pieces together at the shoulder.
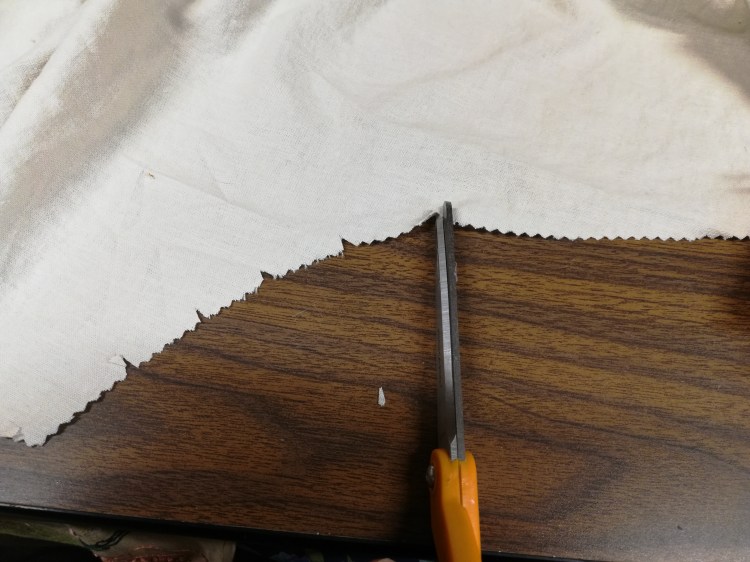
Open the frock up and cut tiny triangles about 3/8” deep on the edges of the material at the curved areas to help allow the hem to curve. I like to spray the area I am working on with a little spray starch, then fold the edge once and iron all the edges of one area at a time then go back and fold again to finish the hem. Next step is to sew around the edges to complete the hem This is what works for me, experienced seamstresses out there can hem any which way they wish.
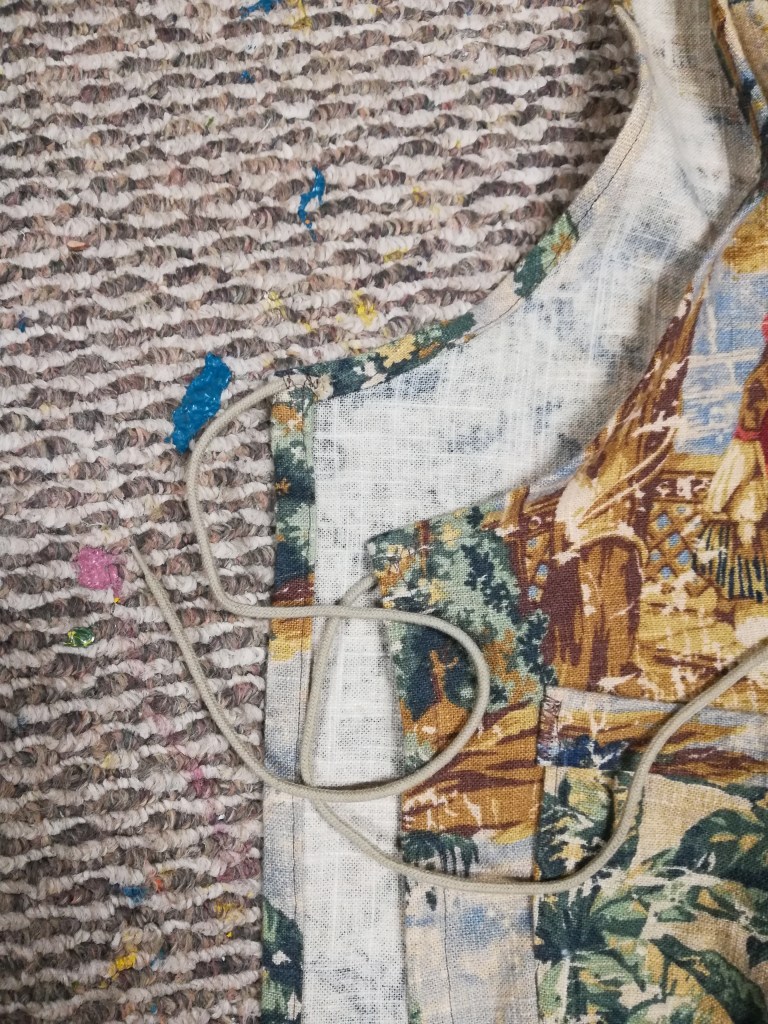
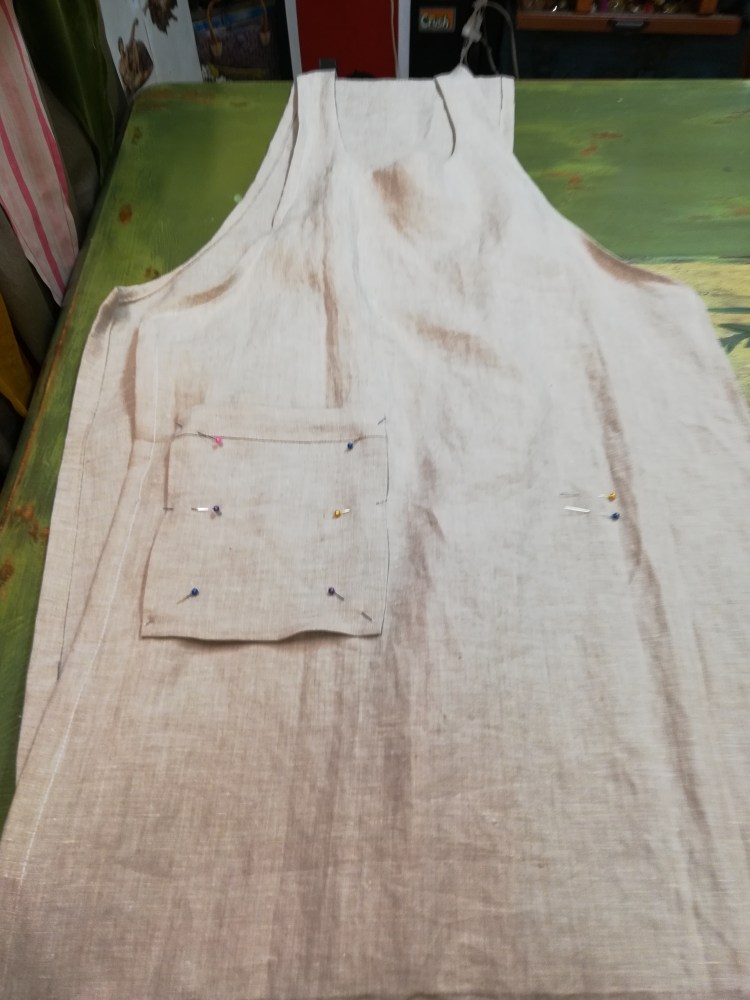
Next, I take the pockets and double fold the top edge and sew to create the top of the pocket. Fold the sides of the pocket about ½ inch and press with the iron. Put the smock on, making sure to have the seem at the shoulders. Place your hands down at the natural position as if you were putting your hands in the pockets and mark the area one at a time with a pin. Position the pockets in the area you marked, making sure they are even with one another and pin down to the front of the smock. Sew the pockets on.
Some fabrics don’t ravel at the edges, such as heavy knit and some synthetic fabrics. In this case you may not wish to hem the edges at all. Often I use the natural edge of the material as the bottom of the smock so I don’t to sew the bottom end.
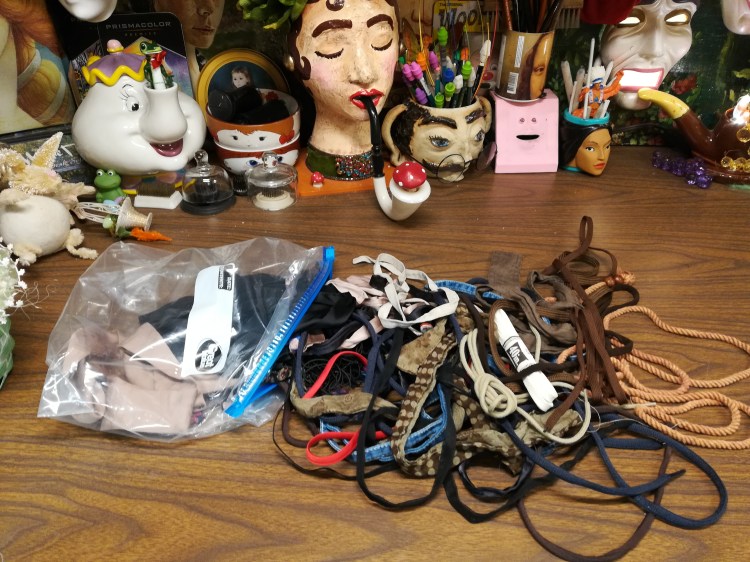
I use thick shoe laces or any type of wide ribbon or decorative trim to create the ties at the sides of the frock. Cut four 10” strips and sew to the inside of the material at the corner edges. Front and back for both sides.